20151214


20151208

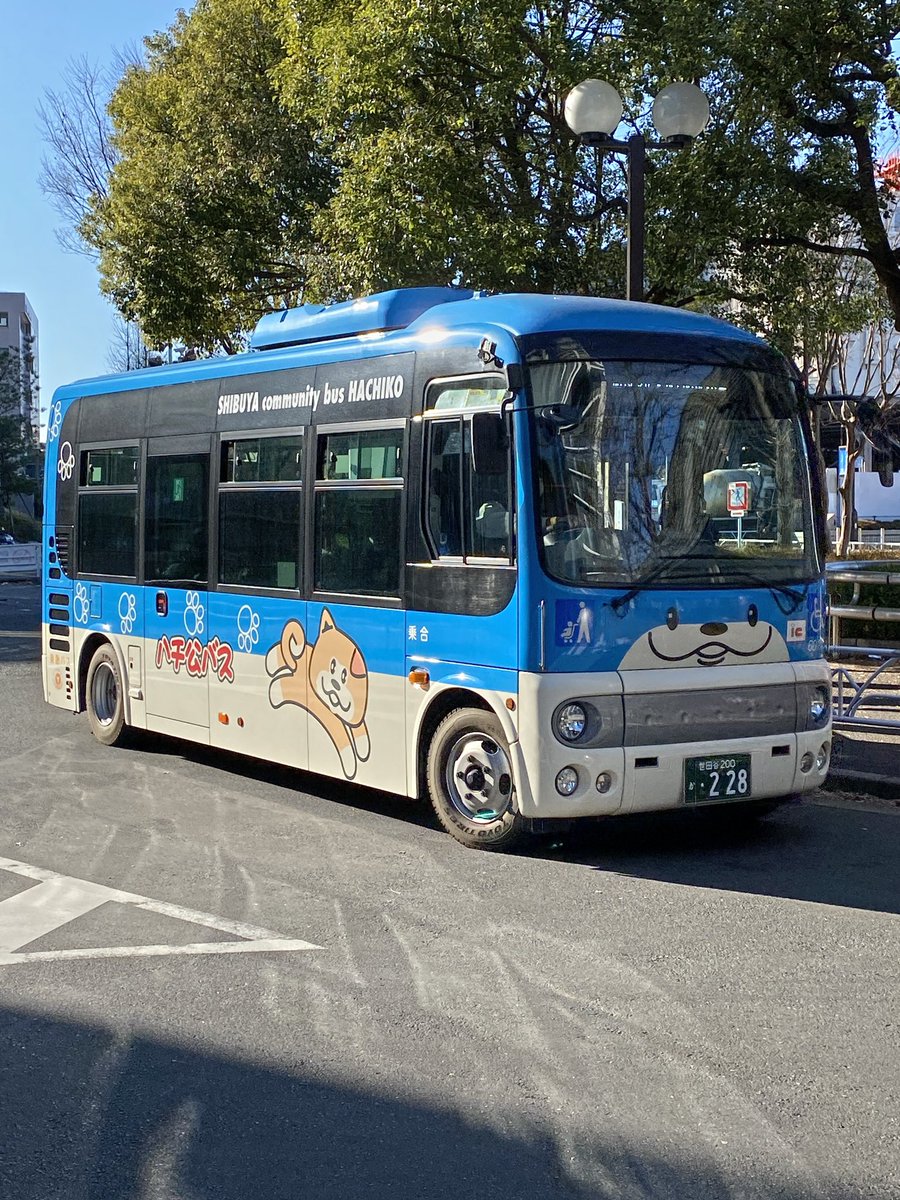
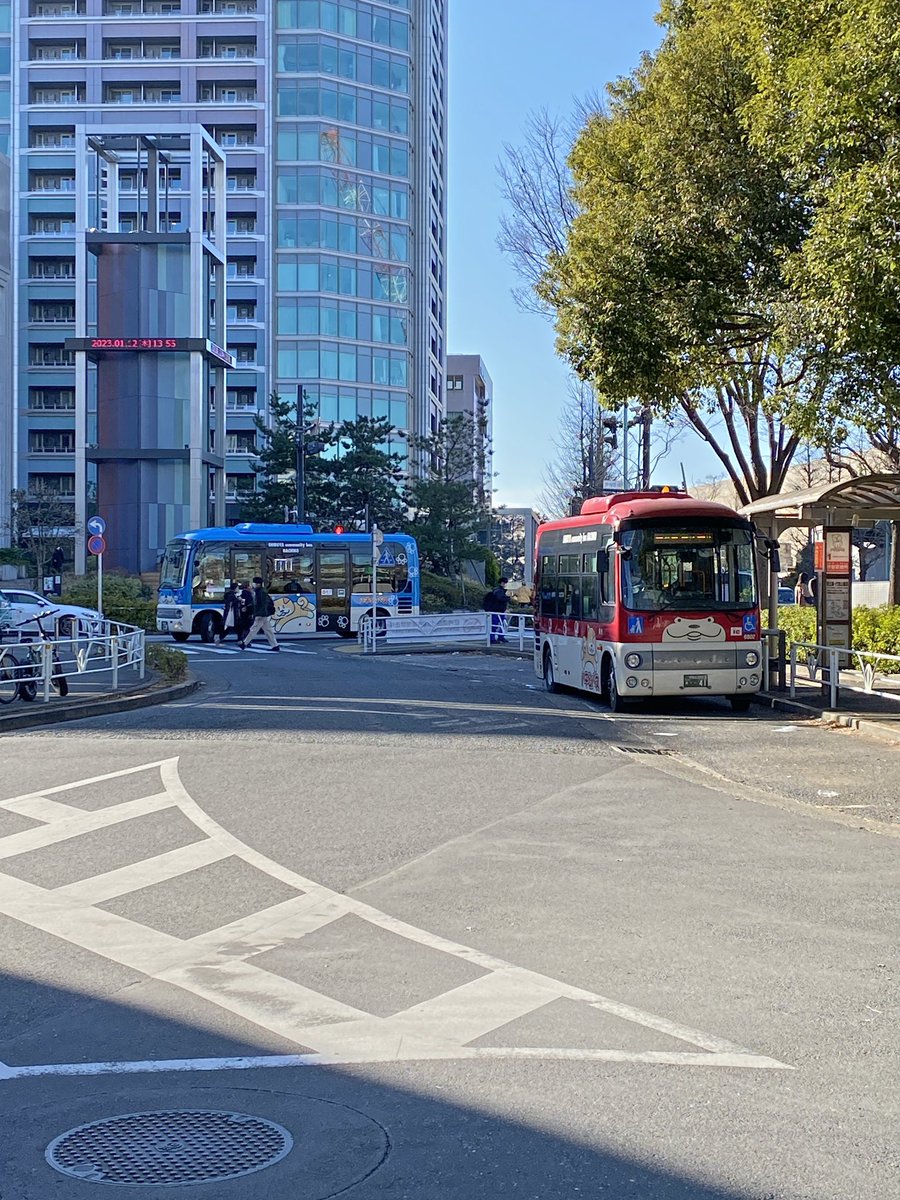
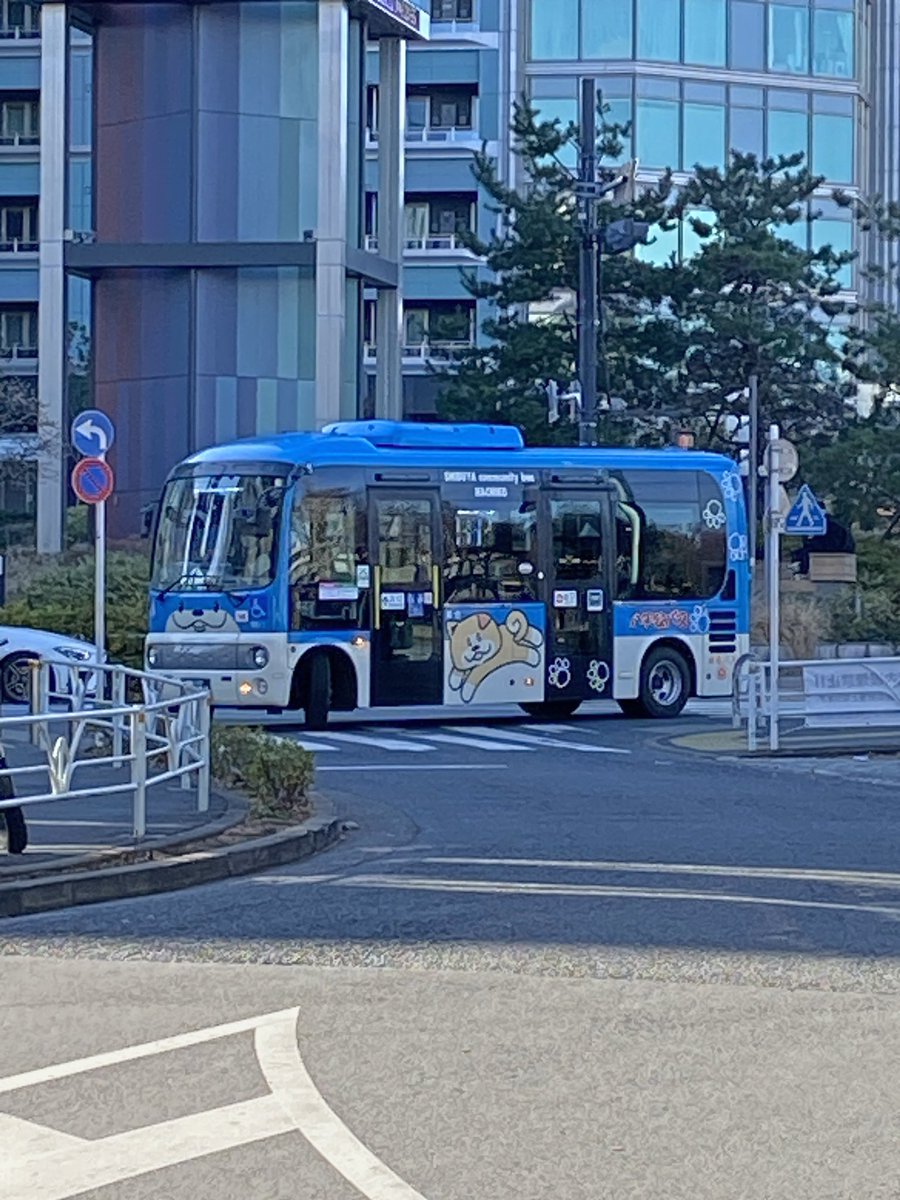
リンクからの 画像
https://min.togetter.com/gPccjnb?page=2
HDRI(High Dynamic Range Image)は
HDRの画像で、多くの明るさ情報を持っている
高品質なHDR画像を無料でダウンロードできる
「HDRI Haven」【CC0, 商用利用可】 -
eizo.help https://eizo-help.hateblo.jp/entry/2019/07/12/114411
https://youtu.be/EVMbcXb9b6s?t=486
8:00/11:39 あたりから
Shader Editor
Object → World
Ctrl + T Mapping
blender youtbe 20230422 背景写真360度 回転 -
blenderzionadのブログ https://blenderzionad.hatenablog.com/entry/2023/04/22/125628

https://polyhaven.com/a/limpopo_golf_course
https://polyhaven.com/a/sunset_fairway

https://polyhaven.com/a/kloofendal_48d_partly_cloudy_puresky


import bpy
# Parameters for the square
size = 10
y_pos = 10
# Create the square
vertices = [
(-size/2, y_pos, -size/2),
(-size/2, y_pos, size/2),
(size/2, y_pos, size/2),
(size/2, y_pos, -size/2)
]
faces = [(0, 1, 2, 3)]
# Create the mesh
mesh = bpy.data.meshes.new(name="SquareMesh")
mesh.from_pydata(vertices, [], faces)
# Create the object and link it to the scene
obj = bpy.data.objects.new("Square", mesh)
bpy.context.scene.collection.objects.link(obj)
import bpy
# Parameters for the square
size = 10
y_pos = 5
# Create the square
vertices = [
(-size/2, y_pos, -size/2),
(-size/2, y_pos, size/2),
(size/2, y_pos, size/2),
(size/2, y_pos, -size/2)
]
faces = [(0, 1, 2, 3)]
# Create the mesh
mesh = bpy.data.meshes.new(name="SquareMesh")
mesh.from_pydata(vertices, [], faces)
# Create the object and link it to the scene
obj = bpy.data.objects.new("Square", mesh)
bpy.context.scene.collection.objects.link(obj)
[Blender]オブジェクトに画像テクスチャを貼り付ける方法(画像あり)
1

2 UV to Vector


3
Vector to Vector

【Blender】テクスチャの貼り方をしっかりとマスターしよう!
https://original-game.com/blender-how-to-apply-a-texture/

【blender 初心者】画像テクスチャを貼り付けて葉っぱを作る
https://www.youtube.com/watch?v=5BFo_GtmIGU
ああ
import bpy
# Get the camera object
camera = bpy.data.objects.get("Camera")
# If the camera exists, set its location to (0, 0, 0)
if camera:
camera.location = (0, 0, 0)
This script will find the camera object in the scene (assuming it is named "Camera") and set its location to (0, 0, 0). If there is a camera in the scene, it will be moved to the specified position.
今日の書き出し設定 項目メモ帳 2023: 20231005 立方体と 光線 https://2023na2022.blogspot.com/2023/10/20231005.html https://mokuji000zionad.hatenablog.com/


